Rub Rails 02 July 2008 |
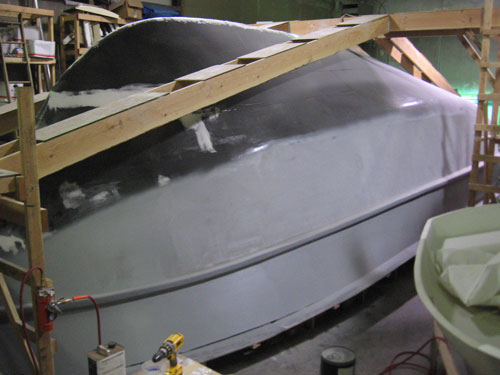
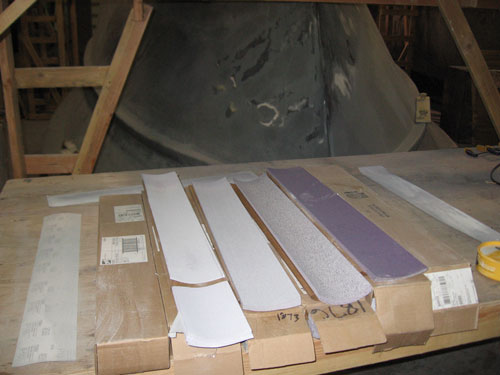
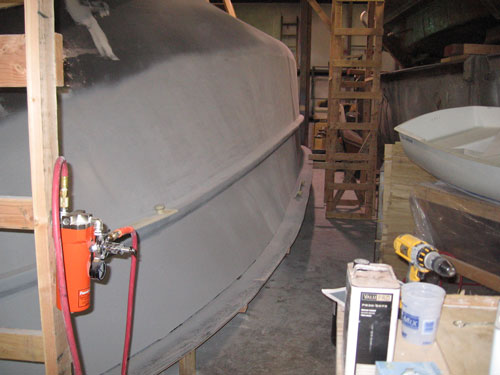
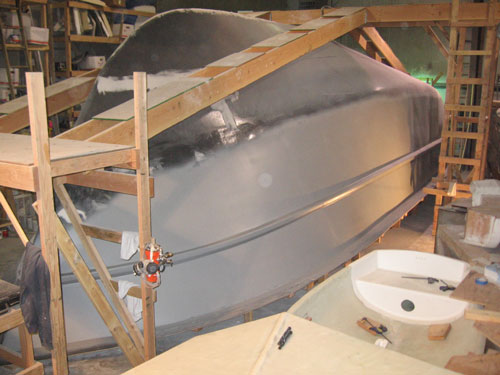
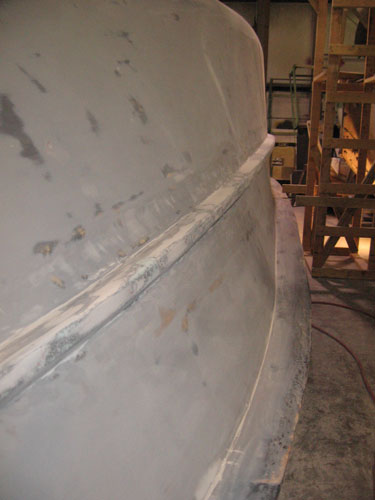
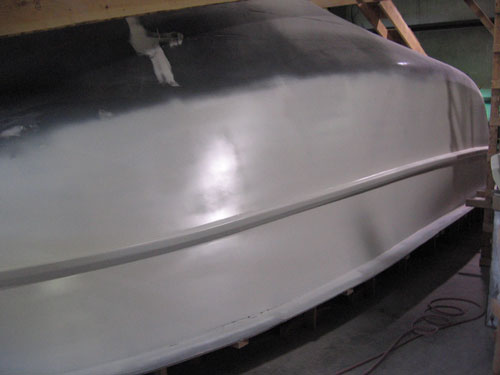
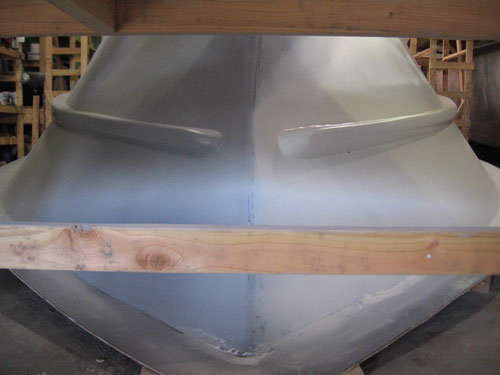
The foam forms were glassed to the plug using epoxy and 1.0oz stitchbound mat. This created a rigid shape fixed to the plug surface to enable application and sanding of fairing compounds without the foam moving. After the rails had cured a layer of epoxy resin pigmented black was rolled on the entire plug to seal the wood and drywall surfaces. This was then sanded smooth (though not necessarily fair). Layers of fairing compound (epoxy with microballoons) and high build primers were applied over the rails and upper hull surfaces, followed by sanding and reapplications an needed. Sanding was mostly board sanding by hand with progressively less aggressive grits. Some power sanding with the Festool RO 150 ETS was also appropriate in certain regions. After many alternating layers, a double coat of AwlGrip Ultra High Build Epoxy Primer was applied to help fill in the remaining small defects. This material also cures to a difficult to sand surface after abour 48 hours. This was helpful to prevent following fairing compound sanding from cutting into already fair sections. It's white color also contrasted with the greys of the high build primers. After acceptably fair, the upper and lower 2.5"R fillets on the rails were created, again using epoxy with microballoons. Several applications of compound was necessarily. First thick to hold the proper shape without sagging during curing, then progressively thinner to fill in the roughness of the thicker layers and create a smoother surface. Then more sanding ensues. Once the fillets are close a double shot of high build primer was applied to fill any minor voids and defects remaining in the fillets and rub rail surfaces. After a final sanding and inspection a layer of Red Oxide sealer will be applied (not yet completed, refer to next progress posting comming soon).
|
 |
 |
 |
 |
||||
 |
 |
 |
 |
||||

© Cascade Yacht Works, LLC 2018 |
Email:
|